Part 3 - A responsive Angular app with OpenId Connect
- Dennis Chacko

- May 4, 2021
- 6 min read
Updated: May 15, 2021
In Part 1 : A responsive Angular app with OpenId Connect, we set up an response Angular application using the Angular framework and Bootstrap. In Part 2, we created a free development account with Auth0, a leading OpenId Connect service provider, and registered our application with Auth0
We are now ready to implement the OIDC authentication flow to securely authenticate our users and provide them access to the secure portions of our application. We begin by installing the angular-oauth2-oidc library
Install angular-oauth2-oidc
angular-oauth2-oidc is an OpenId Certified library that provides robust support for OAuth 2 and OpenId Connect (OIDC) in Angular. We begin our OIDC implementing by installing this library in our application. Please execute the below command in the VS Code terminal:
npm i angular-oauth2-oidcAfter the installation, we'll need to configure the library with some of the Auth0 properties from the previous step.
Edit environment.ts file
Open up the src/environments/environment.ts file and replace its contents as shown below:
issuer. This is the Auth0 domain from Step 3 in the previous article
clientId: This is the client id from Step in the previous article. Please note that this client id needs to be specified in line#5 and line#10
Next , create a folder under src/app called auth and add a file named auth.config.ts. Add the below code to this file. This file reads the environment.ts file from above and will be used to configured the angular-oauth2-oidc library
Much of the code we have written so far has been pretty standard Angular and Bootstrap CSS stuff. We now get into the relatively more complex realm of Angular services, AuthGuards, events and of course, OpenId Connect.
Lets begin by creating our first Angular service: an AuthService that will encapsulate all the ODIC-related code for our application. Begin by running the below command:
ng generate service auth/AuthServiceThe above command will generate the AuthService stubs in the src/app/auth folder. Lets update the contents of this file with some imports from the oidc library.
Lets go over the above code:
In line 2 and 3, we have imported the OAuthService from the angular-oauth2-oidc library. We also imported the AuthCodeFlowConfig class we created earlier. Recall that this class has the Auth0 related configuration parameters
Line 6, is an Angular annotation that marks this class as an Augular service and that it can be injected into any Angular component that needs it. Angular will be responsible for instantiating, managing and injecting this class where required
Line 16, we initialize the OAuthService with Auth0 configuration parameters. These parameters inform the library about which Auth0 instance should be used for authenticating users
Lines 22-24 is very self-explanatory. This function calls the OAuthService to logout the user
Lines 29-37 is a simple check to see of the user has been successfully authenticated
We'll now add the all-important login() operation to this service. The final code with the login() operation is shown below:
Lets go over the login() functionality in detail:
In Lines 5 and 11, we import a Rxjs Subject and will use it to emit Authenication related events. Whenever the user gets authenticated successfully, we will emit an event with a boolean value of true to indicate success. If the user has failed authentication or if they get timed-out due to inactivity, we'll emit an event with a boolean value of false to indicate success. Remember that Angular is a Javascript framework and a lot of javascript processing is done asynchronously
Line 48-57 is the core functionality. We use the OAuthService from the angular-oauth2-oidc library to login the user when this operation is called. The then() operation just passes the result of the login to the authenticationEventObservable variable for publishing authentication related events.
The OauthService does most of the heavy lifting here. When the loadDiscoveryDocumentAndLogin() operation is called, the OauthService will:
Redirect the user to the Auth0 login page where the user's credentials will be validated. This happens at the Auth0 hosted site and so we do not get to see the user's id or password. This relieves us from the responsibility of securing storing and accessing user's credentials thus limiting our liability
Once the user has been successfully authenticated, Auth0 generates an authenticated token and redirects the user back to our Angular application with the authentication code
We can then check if the user is authenticated by invoking the isAuthenticated() operation (see lines 32-41
So we now have our AuthService with all the intelligence required to authenticate our users. But how do we use this service? We typically have two use-cases:
Use-case 1: All users should be able to access the public pages or routes. These could be the pages where we inform the users about the service we offer, our privacy policies etc
User-case 2: Only authenticated users should be able to access the sensitive or private pages containing information relevant to them
We can implement the above two use-cases by using an Angular feature called AuthGuards. An Authguard, as the name suggests, can be used to protect or guard sensitive/private pages. For protected pages, the Authguard will use the AuthService to verify if the user has been successfully authenticated before allowing the user to view the protected pages.
Create an AuthGuard
Execute the below command to create an AuthGuard in the src/app/auth folder:
ng generate guard auth/AuthGuardWhen presented with the below prompt, choose the CanActivate interface:
Which interfaces would you like to implement? Choose the CanActivate interface and press Enter
We have now created our AuthService and our AuthGuard. Lets wire them up and start protecting our routes.
Update app.module.ts
We'll need to update src/app/app.module.ts because both AuthService and AuthGuard are Angular managed services. This means that Angular is responsible for instantiating these services and managing them. Lets import these two services in the src/app/app.module.ts file
In lines 12 and 13, we import the AuthService and AuthGuard
in Line 29: we add them to the providers array. Angular uses the providers array to identify all the services that it needs to instantiate and managed at startup
Update app-routing.module.ts
We are now ready to actually protect our routes. All our routes should be specified in the src/app/app-routing.module.ts file. We can now protect the 'home' route by attaching a AuthGuard to it as shown below:
In Line# 5 , we import the AuthGuard
in Line# 9, we attach the AuthGuard to the 'home' route to protect it from unauthorized access
We are almost done. We now have update our Header component to implement the login/logout links in the navigation bar
Update header.component.ts
Update the src/app/header/header.component.ts to implement the login/logout operations when the user attempts to login or logout of our application as shown below:
Line 20-25 is the constructor code for the navigition bar. When the application is first loaded on the browser, the Header component is initialized. As part of its initialization, it begins to subscribe to any authentication events that the AuthService may publish. The result of the authentication event is a boolean value of true or false and is assigned to the isAuthenticated variable. This variable is used to toggle the Login/Logout links on the navigation bar
Line#36 is the login() function that is called when the Login link in the navigation bar is clicked. This invokes the AuthService's login() function which in turn delegates the call to the OAuthService which in turn redirects the user to Auth0's login page
Finally we have line# 43-47 which gets called when the user clicks on the Logout link in the navigation bar. This logs the user out and redirects them to the public 'landing' page. The isAuthenticated variable is set to false and this causes the Logout link to be replaced by the Login link
Update header.component.html
The final update is to the src/app/header/header.component.html file where we toggle the Login/Logout links based on the status of the user.
Lines 42-45 display the Login link if the user is in an unauthenticated state. Line# 43 calls the login() function in the header.component.ts when the user clocks the Login link
Lines 47-50 display the Logout link if the user is in an authenticated state. Line# 48 calls the logout() function in the header.component.ts when the user clocks the Logout link
That's completes all the code that we need to write. Lets now test the authentication flow!
Lets login to the application running on http://localhost:4200 and click on the Login link:

As you can see below, we get redirected to the Auth0 login page:

Enter the dummy user we created in Part 2
We should now get redirected to the home page with the Logout link enabled as shown below:

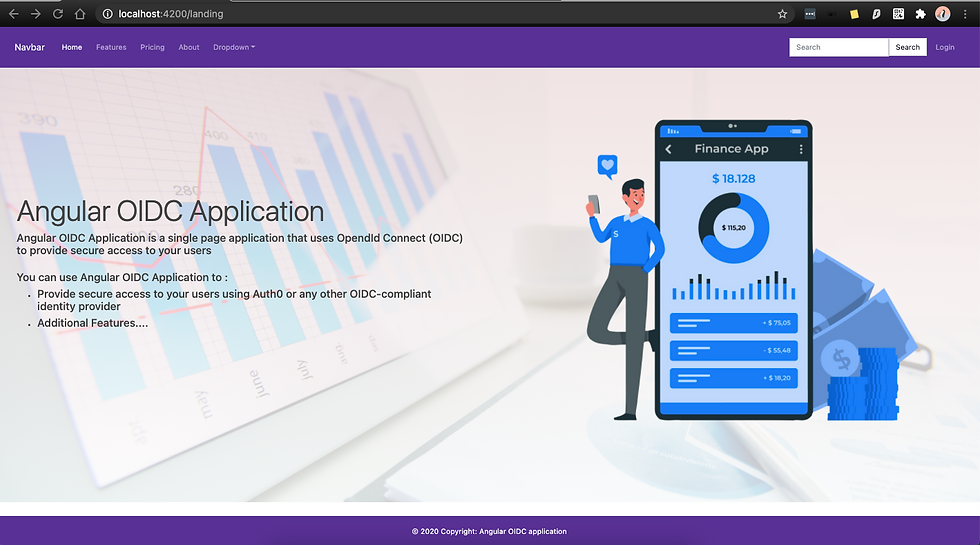
Lets now test the logout. Click on the Logout link. We should now get redirected back to the Landing page with the Logout link replaced by the Login link.
Now that we are logged out, lets try to access the home page directly at http://localhost:4200/home. We should get redirected back to Auth0 for authentication since we are logged out and are requesting a secure page
This completes our 3-part series in building a responsive Angular app with OpenId Connect. I hope you find this useful as you build secure angular applications. As always, all code is available in GitHub .

Comments