Part 1 - A responsive Angular app with OpenId Connect
- Dennis Chacko

- May 4, 2021
- 4 min read
Updated: May 15, 2021
In this blog series, we are going to build an Angular application from scratch and secure it using Auth0 and OpenId Connect. As part of this tutorial we will:
Use the Angular CLI to initialize, develop, scaffold our Angular application
Use Bootstrap CSS styles to create our landing and post login pages
Create an Auth0 account and register our application
Use the angular-oauth2-oidc library to implement OpenId Connect (OIDC) with Auth0
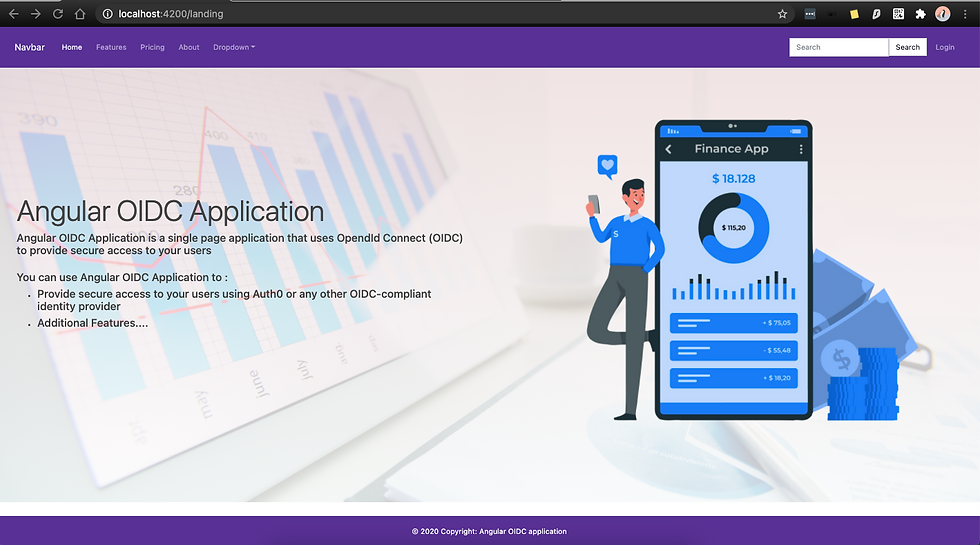
Once complete, our Angular application should look as shown below:
As always, all code is available at GitHub
Development Environment
We'll need to setup our development environment first. All the technologies we use are open source, popular and widely documented:
Install Angular CLI
We can now go ahead and start developing our Angular application. We begin by first installing the Angular CLI. Open up a command prompt and execute the below command:
npm install -g @angular/cliOn completion, execute the below command to verify that the cli was successfully installed
ng --versionCreate the initial application
Now that we have setup our development environment, lets create our initial application using the Angular CLI. Type the below command in the command prompt:
ng new angular-oidc-appThe CLI will provide the below prompts to configure the application :
Would you like Angular routing? Answer yes by typing 'y'
Which stylesheet format would you like to use? Using the arrow keys, choose CSS
It should take a few moments for the CLI to download package dependencies and generate the code for the the initial application. Once done, we can now open up the folder in VS Code:
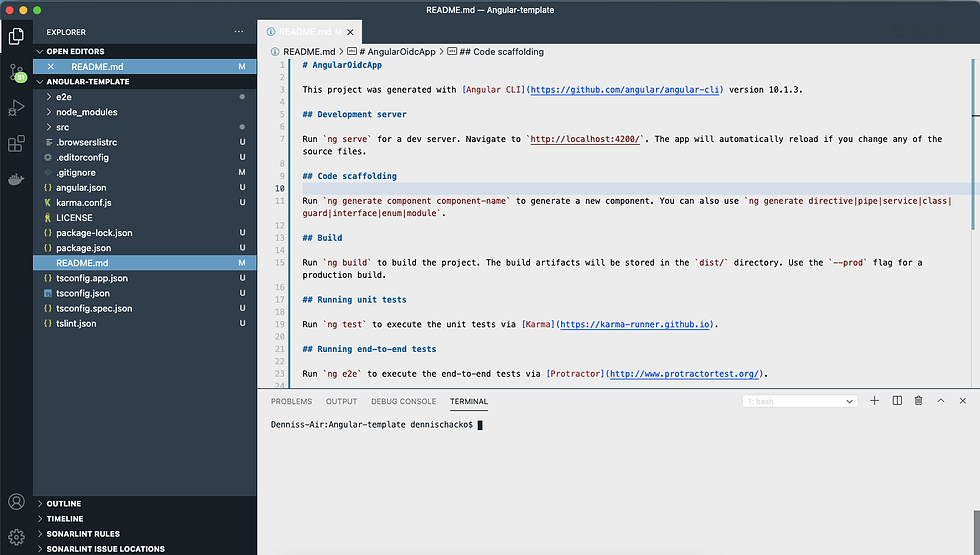
Since VS Code is an Integrated Development Environment (IDE), we can now do all our development, including build and run the application within the IDE. Open up a terminal within VS Code. Please see the official VS Code documentation available here
Now that we have our basic broiler plate Angular application generated for us, we can start to build and run this application in the terminal. Run the below command to build and run the application:
ng serve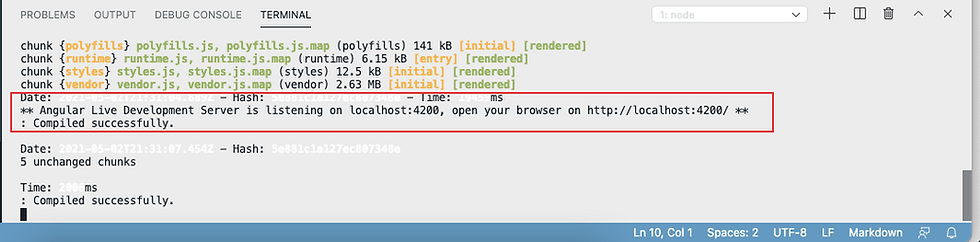
Once built, the angular application should be available by opening a browser window with the url : http://localhost:4200

Lets keep the application running in the terminal and open a new terminal in VS Code. We'll use this second terminal to execute additional CLI commands. As we we update the application, the Angular CLI will build and deploy the application in the background and we should be able to see the changes in browser as we code. See Managing Multiple Terminals in VS Code
Install Bootstrap
Bootstrap is the most popular CSS Framework for developing responsive and mobile-first websites. We can install Bootstrap in our Angular application by opening up a new terminal in VS code and typing the below commands:
npm install bootstrap
npm install jquery
Install the Bootstrap purple theme
Create a folder under src/app/assets called css and copy add this file to the folder. The purple theme is provided by Bootstrap Theme Guide
Update src/angular.json file to include the bootstrap css under styles section
Add the jquery and bootstrap script to the scripts section. Please see the sample code available here
Create the Header page component
Lets now create our first Angular component. This component will host our navigation bar. Run the below command to create the header component
ng generate component HeaderTo display this new component, we need to add it to the src/app/app.component.html file. Replace the contents of the src/app/app.component.html file with the below code:
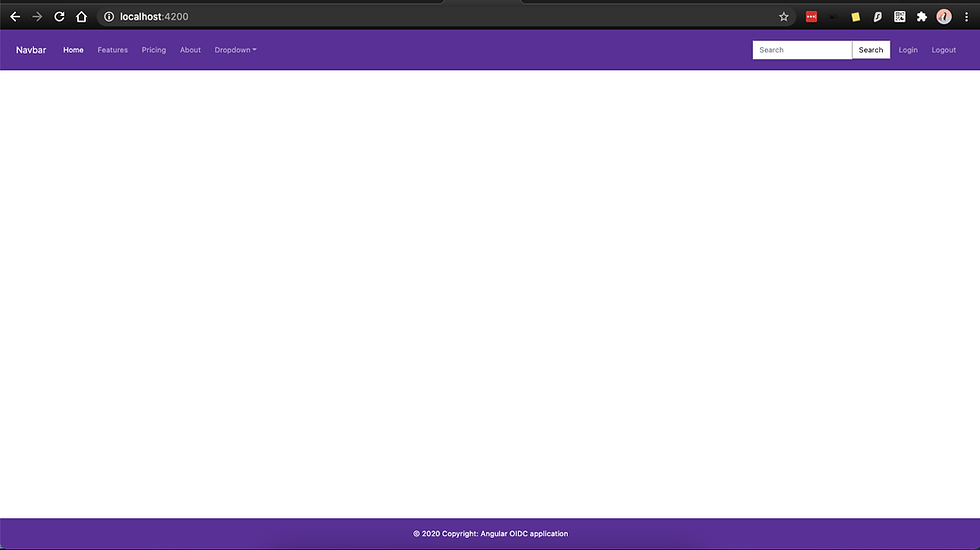
We can now see that our application running on http://localhost:4200 has changed :

Lets now add a Bootstrap navigation menu to our header component. Open up the src/styles.css file and replace its contents with the below code:
Next open the src/app/header/header.component.css file and add the below code:
Finally edit the src/app/header/header.component.html file and add the below code:
We can now see that our application running on http://localhost:4200 has a bootstrap themed purple navigation bar:

Create the Footer page component
Next, we'll create the Footer component to host our copyright related information. Run the below command to create the Footer component
ng generate component FooterAnd then add it to the src/app/app.component.html file. Replace the contents of the src/app/app.component.html file with the below code (See line#3):
We'll now style the Footer component and add some content
Open the src/app/footer/footer.component.css file and add the below code:
Finally, we can add some content to our footer.
Open the src/app/footer/footer.component.html file and add the below code:
We can now see that our application running on http://localhost:4200 has both a navigation bar and a footer:
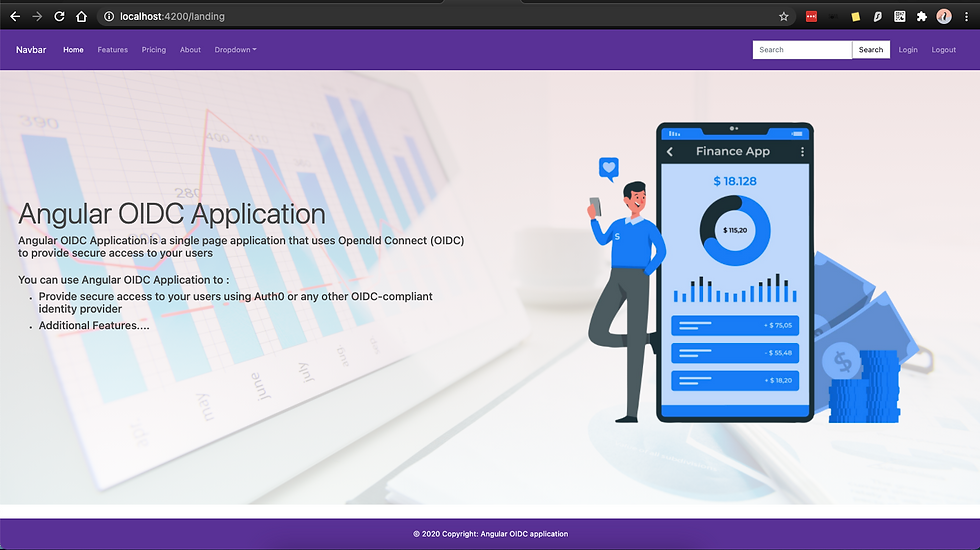
Create the Landing page component
We can now create the application's Landing page component to host the main content area. This will be the unsecured page that all users can access without having to login.
Run the below command to create the Landing page component
ng generate component LandingWe now need to create a route http://localhost:4200/landing to help navigate to this component. We'll also specify this component to be our default route so that http://localhost:4200 also redirects to this page
Open the src/app/app-routing.module.ts file and add the below code:
Create an images folder under src/assets and add the images from here . We'll use these images to set the background for the component
We can now style our landing page by replacing the contents of src/landing/landing.component.css with the below code:
Add some content to the page by replacing src/landing/landing.component.html with the below code:
We can now see that our application running on http://localhost:4200 has the new landing page:
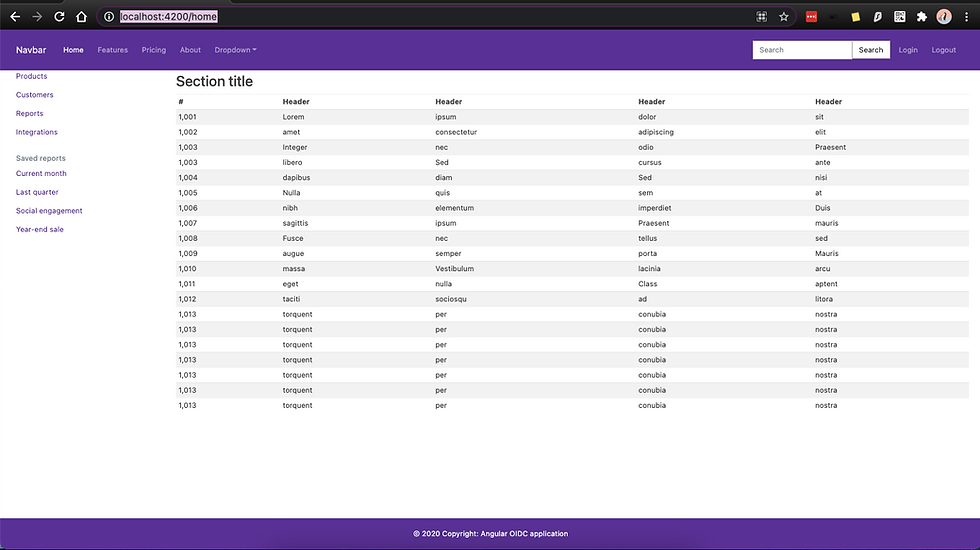
Create the Home page component
We can now create the application's Home page component. This will be the secured page that all users can access after a successful login. But for now, this page will be unsecured as we build it.Run the below command to create the Home page component
ng generate component HomeWe have to now create a route http://localhost:4200/home to route to this component. Open the src/app/app-routing.module.ts file and add the below code (see line#9) :
We can now style our Home page by replacing the contents of src/home/home.component.css with the below code:
Edit src/home/home.component.html with some html as shown below:
Our home page is now visible if we navigate to http://localhost:4200/home
This concludes the basic setup of our Angular application with Bootstrap. You can test the responsiveness of the app using Firefox by following this documentation . Chrome offers similar tools as documented here
In Part 2 of this series, we'll head over to Auth0 where we'll create a free account and register our application. Auth0 will then be used to authenticate our users and give them access to secured content


Comments